App certificates and secrets
The Entra ID App requires a certificate and client secret for authentication. This section documents steps to create the certificate and secret.
Before you start
Prerequisite stages
Confirm the following stages have been completed:
Parameters
The following values from the parameters workbook are required:
- {Entra-App-Cert-Name}
Permission required
Use an account with the following permissions:
- Global Administrator
App certificates & secrets
Generate certificate
Run the following PowerShell script to generate a certificate for SharePoint authentication.
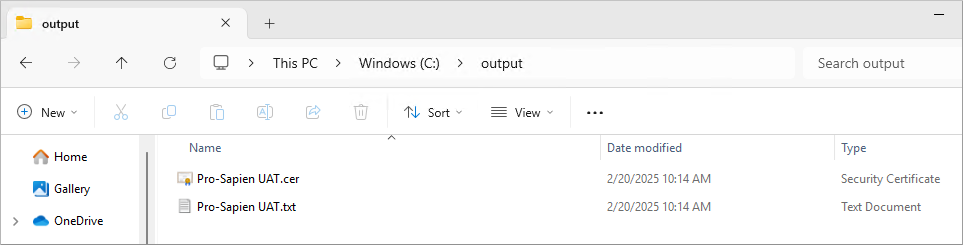
The script will output two files.
- Certificate file (.cer file)
- Private key value encoded as a Base64 string (.txt file)
IMPORTANT: Variables at top of script must be updated before proceeding.
- $CertName: populate with {Entra-App-Cert-Name} for the instance
- $ValidYears: populate with the number of years until expiration
- $OutputDir: populate with the output directory where the .cer file and private key .txt file should be written
- by default will be created in the same directory where script is run
$CertName = ""
$ValidYears = 10
$OutputDir = ".\"

$OutputKey = "$OutputDir\$CertName.txt"
$OutputCert = "$OutputDir\$CertName.cer"

$Certificate = New-PnPAzureCertificate `
-CommonName $CertName `
-ValidYears $ValidYears `
-OutCert $OutputCert

$privateKeyBase64 = $certificate.PfxBase64
$privateKeyBase64 | Out-File -FilePath $OutputKey
Retain files
The output files should be retained for later steps.
- Certificate file (.cer file)
- Private key value encoded as a Base64 string (.txt file) {Entra-App-PrivateKey}
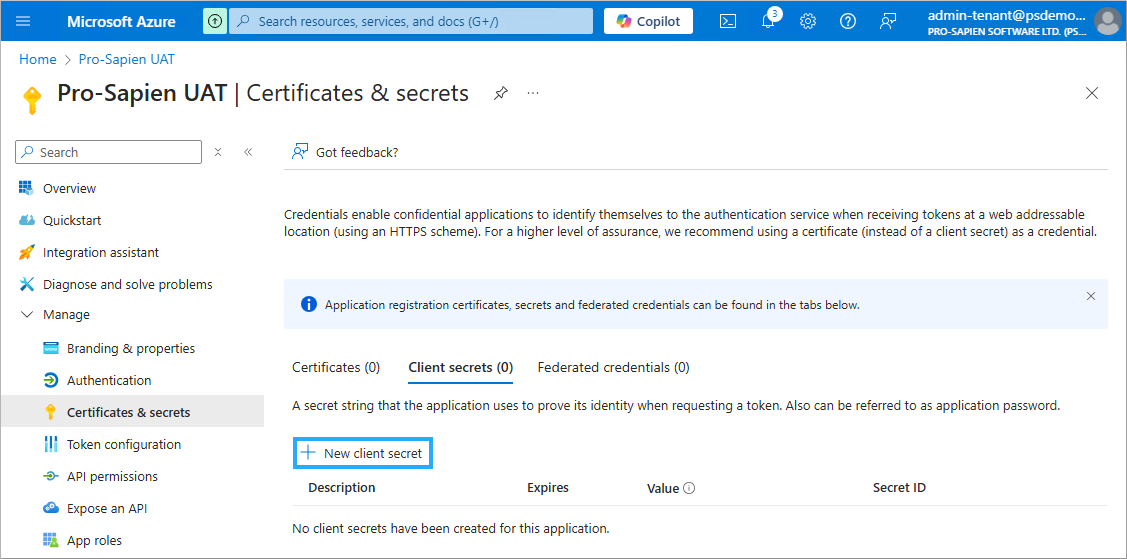
New client secret
- Navigate to the Certificates & secrets page
- Click on Client secrets tab
- Click on New client secret
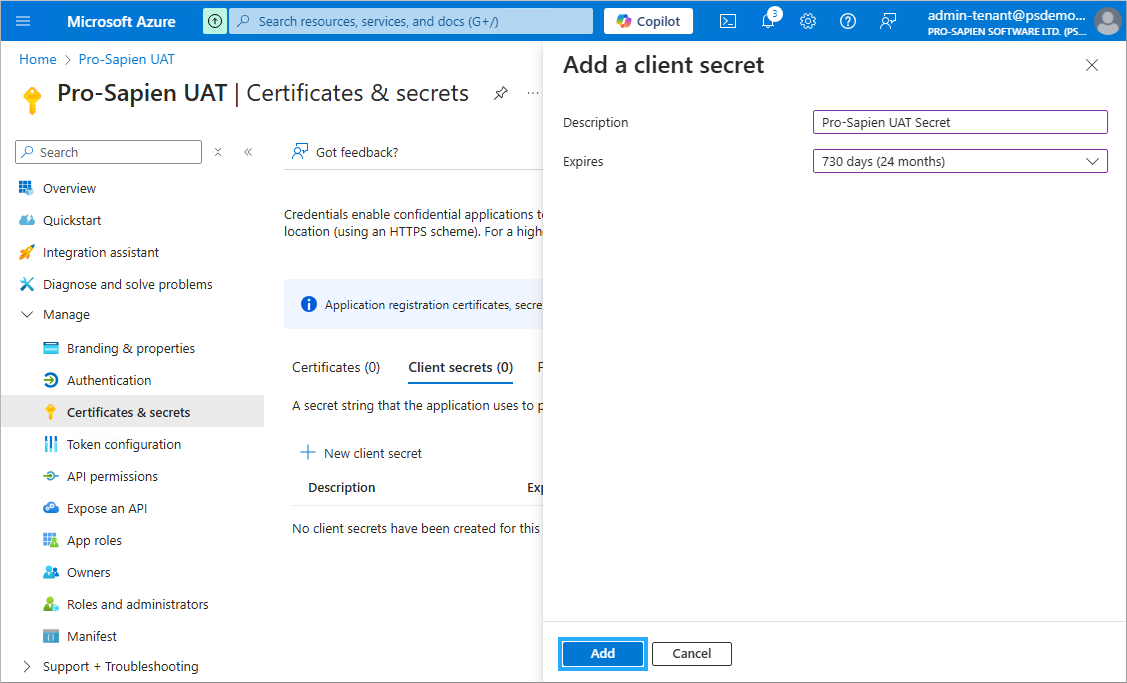
- Expires: Select expiration date (max 24 months)
- Description: provide a Description e.g. "Pro-Sapien UAT Secret."
- Click on Add
IMPORTANT secret value will not be displayed again after the page is refreshed and must be copied before moving on.
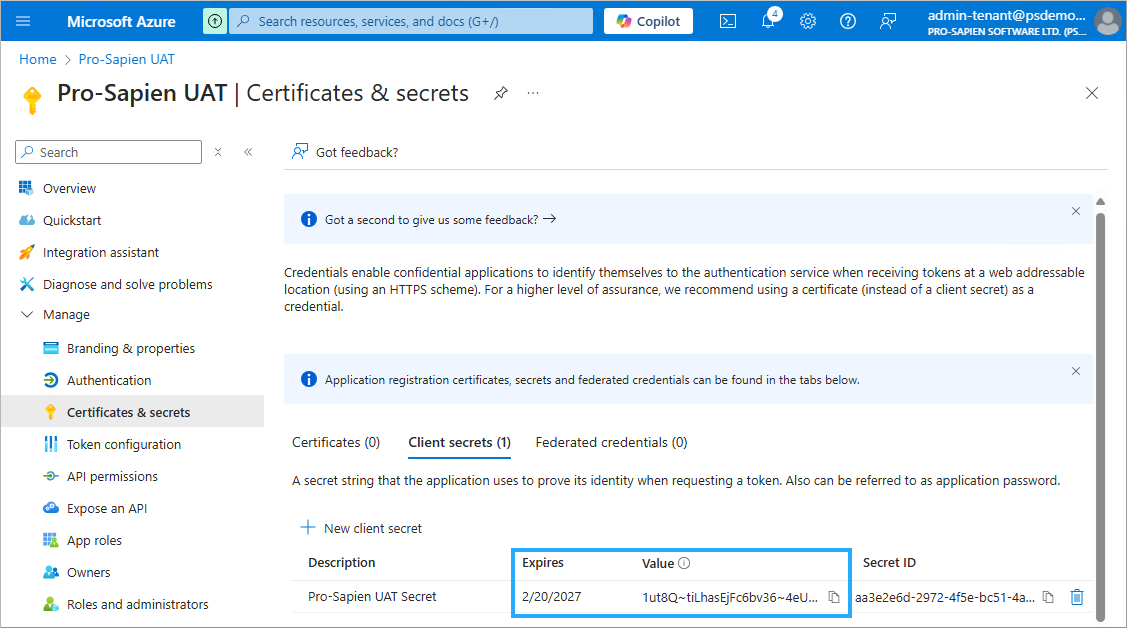
- The following details should be retained for later steps.
- Expires date {Entra-App-SecretExpiry}
- Value {Entra-App-ClientSecret}
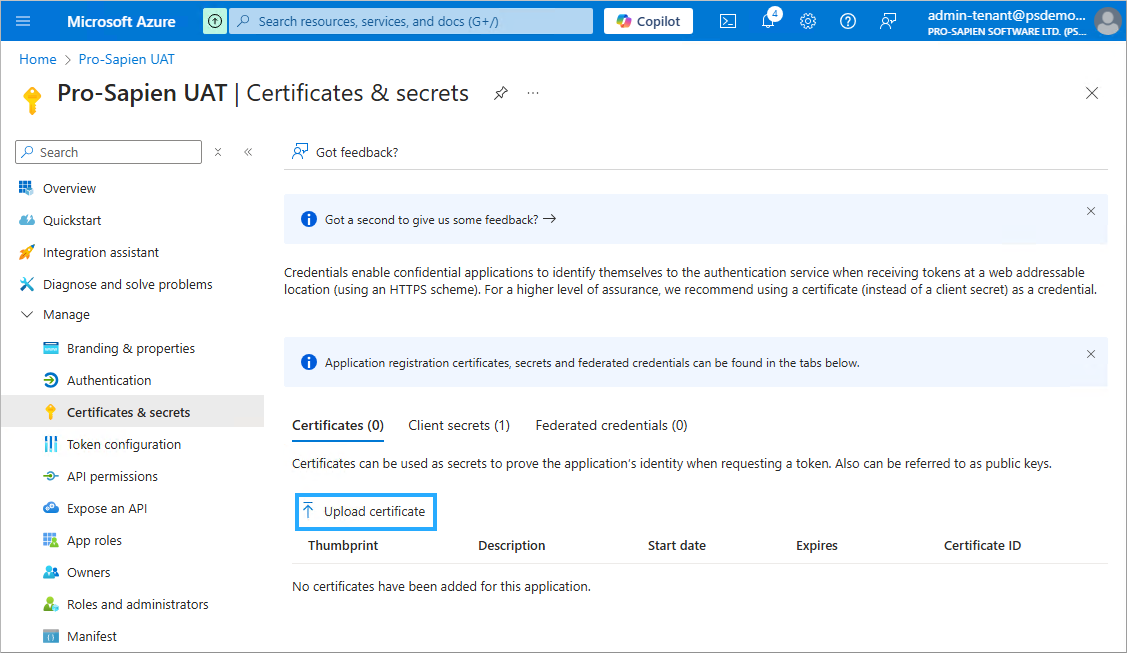
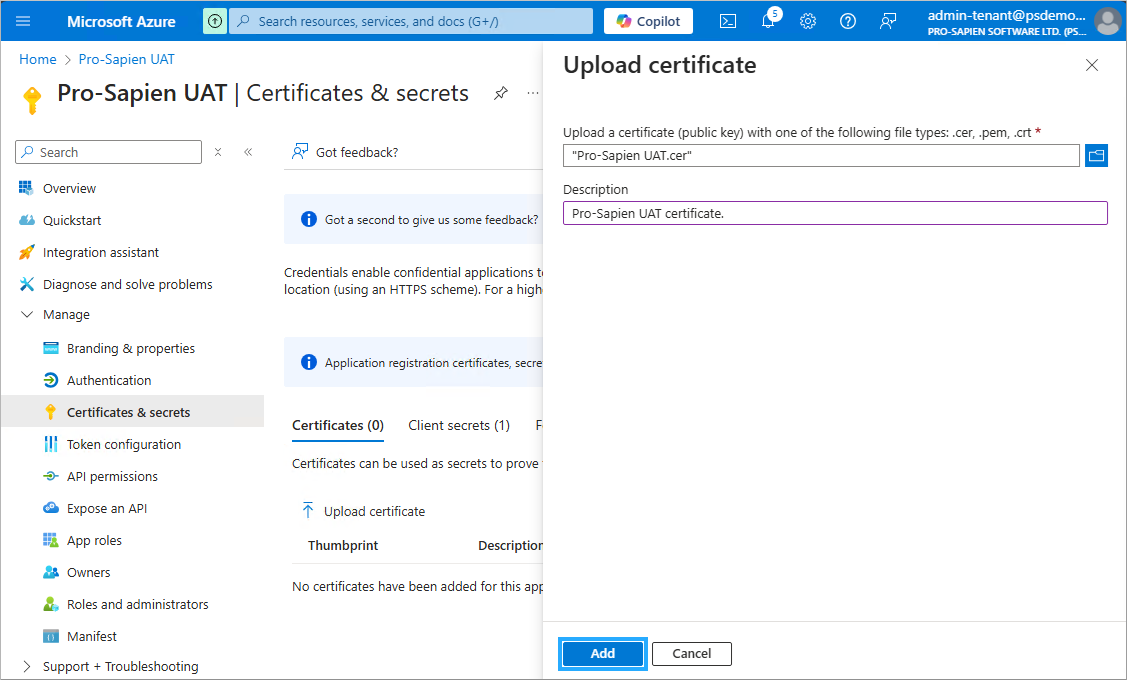
Upload certificate
- Navigate to the Certificates & secrets page
- Click on Certificates tab
- Click on Upload Certificate
- File: select .cer file generated in the previous step
- Description: provide a Description e.g. "Pro-Sapien UAT certificate."
- Click Add
Before you finish
The following details should be captured in the parameters workbook:
- {Entra-App-SecretExpiry}
The following details should be sent to Pro-Sapien by secure transmission:
- {Entra-App-ClientSecret}
- {Entra-App-PrivateKey}
The .cer file is not required by Pro-Sapien however should be retained for backup purposes.