Create Entra ID app registrations
This section details the steps required to create the Entra ID App Registration. A registration is required for each instance of Pro-Sapien.
Before you start
Prerequisite stages
Confirm the following stages have been completed.
Parameters
The following values from the parameters workbook are required:
- {Entra-App-Name}
- {Web-App-Domain}
Permission required
Use an account with the following permissions:
- Global Administrator
Entra ID App registration
Create a new Entra ID App Registration in Azure Portal for each Pro-Sapien instance.
Two instances will be deployed, requiring two app registrations:
- UAT (test)
- Production (live)
The following link provides steps for creating app registrations in Azure Portal:
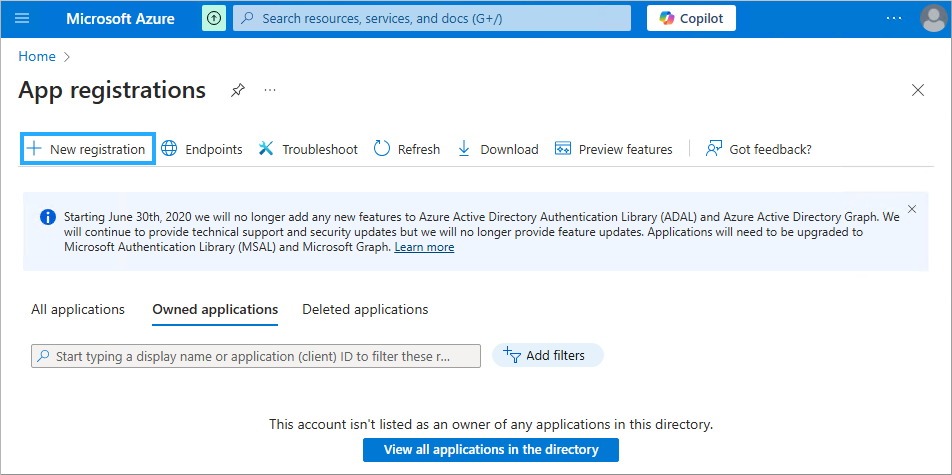
New registration
- Navigate to Azure Portal -> Microsoft Entra ID -> App Registrations
- Click on New Registration
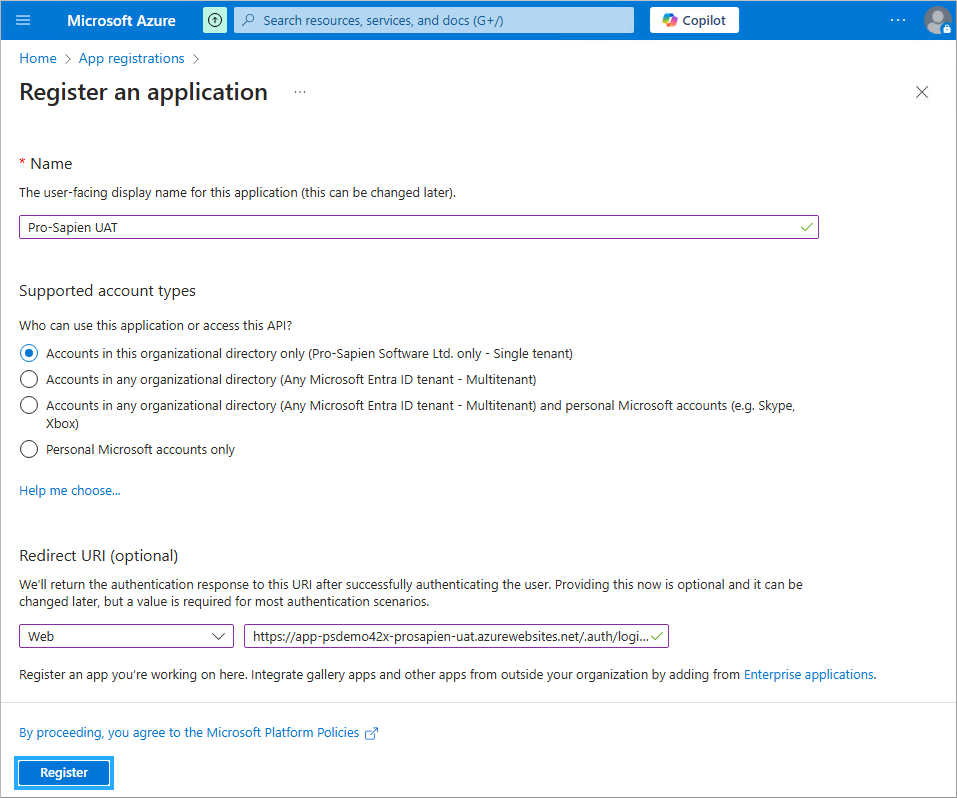
Complete details
- Name: populate with {Entra-App-Name}
- Supported account types: select Accounts in this organizational directory only (Single tenant)
- Redirect URI (optional): select Web and provide following URI: https://{Web-App-Domain}/.auth/login/aad/callback
- {Web-App-Domain} is the full domain of the Azure Web App
- If a custom domain is being used, this should be the fully qualified custom domain
- If not, this should be the *.azurewebsites.net domain
- Click on Register
Authentication
- Navigate to the Authentication page
- Front-channel logout URL: provide following URI: https://{WebAppDomain}/Account/EndSession
- {Web-App-Domain} is the full domain of the Azure Web App
- If a custom domain is being used, this should be the fully qualified custom domain
- If not, this should be the *.azurewebsites.net domain
- Implicit grant and hybrid flows: select ID tokens
- Click on Save

Authentication (alternative steps)
If the Front-channel logout URL section is not available on the authentication page, this indicates a web Redirect URI was not provided in the first step. If this is the case, complete the following alternative steps.
ONLY execute these steps if the Front-channel logout URL section is not available.
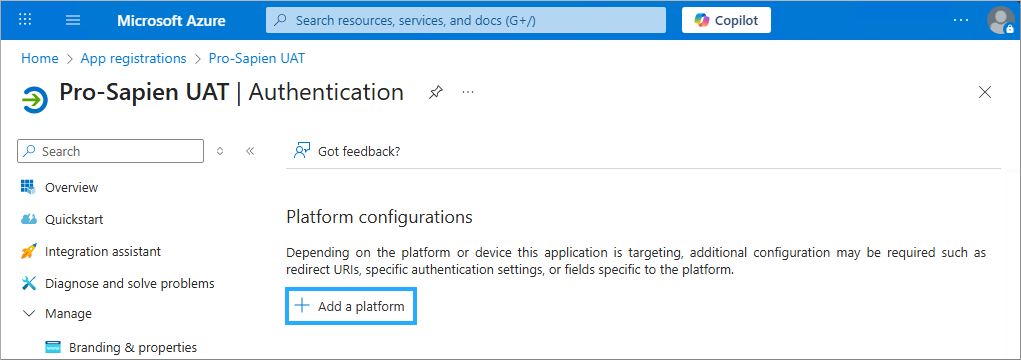
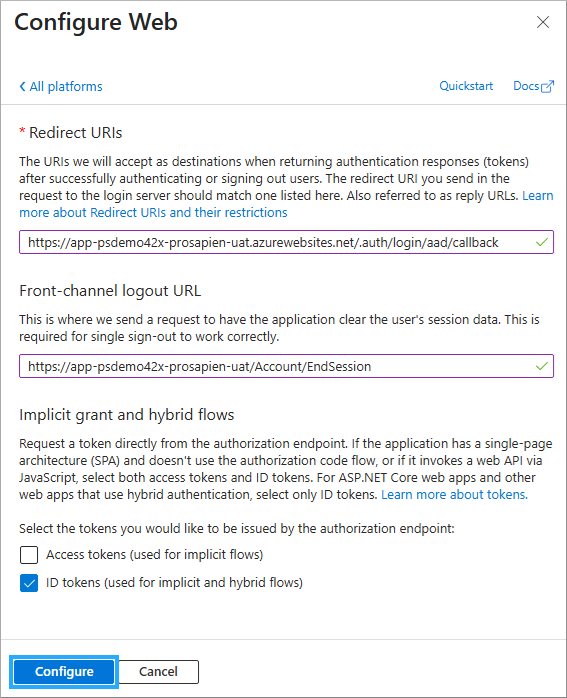
- Click on Add a platform
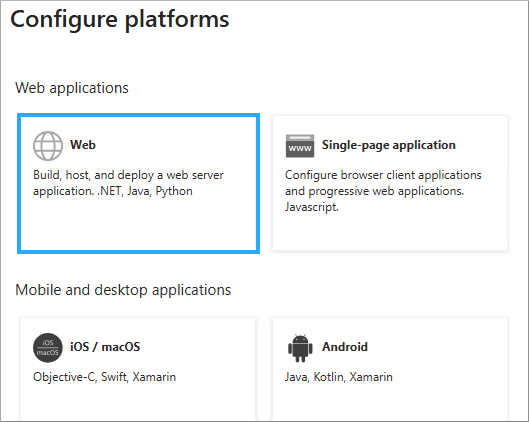
- Click on Web
- Redirect URIs: provide following URI: https://{Web-App-Domain}/.auth/login/aad/callback
- {Web-App-Domain} is the full domain of the Azure Web App
- If a custom domain is being used, this should be the fully qualified custom domain
- If not, this should be the *.azurewebsites.net domain
- Front-channel logout URL: provide following URI: https://{WebAppDomain}/Account/EndSession
- {Web-App-Domain} is the full domain of the Azure Web App
- If a custom domain is being used, this should be the fully qualified custom domain
- If not, this should be the *.azurewebsites.net domain
- Implicit grant and hybrid flows: select ID tokens
- Click on Configure
API permissions
User profiles
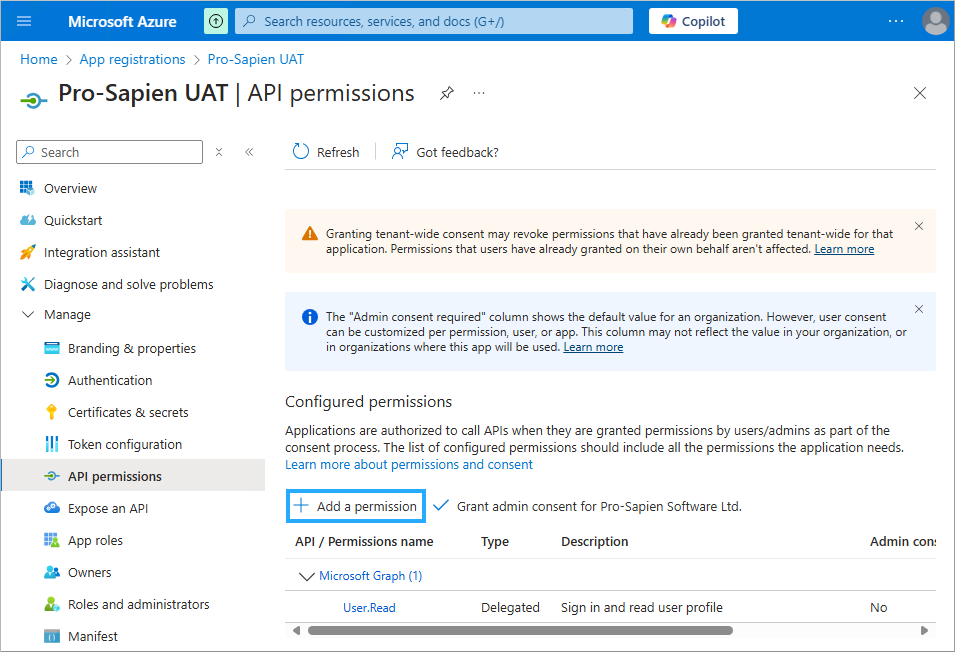
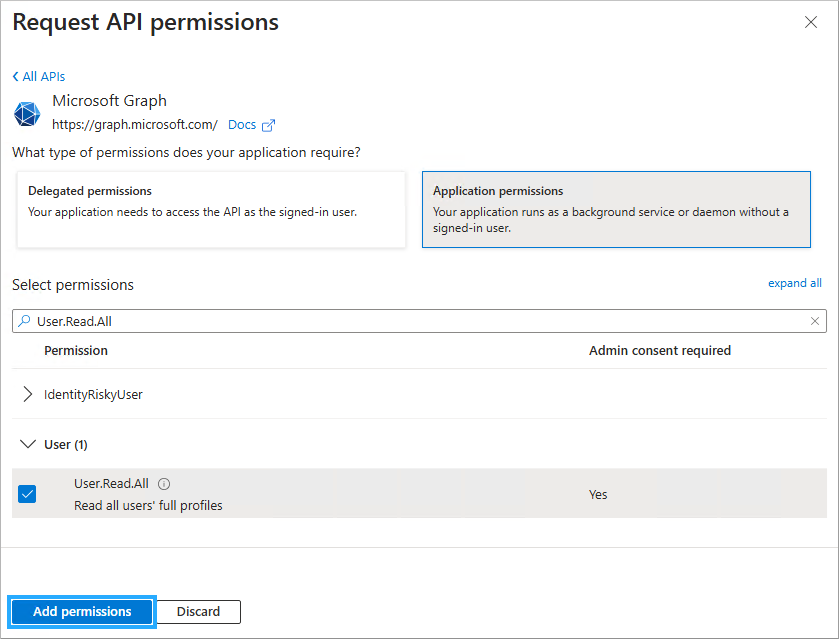
- Navigate to the API permissions page
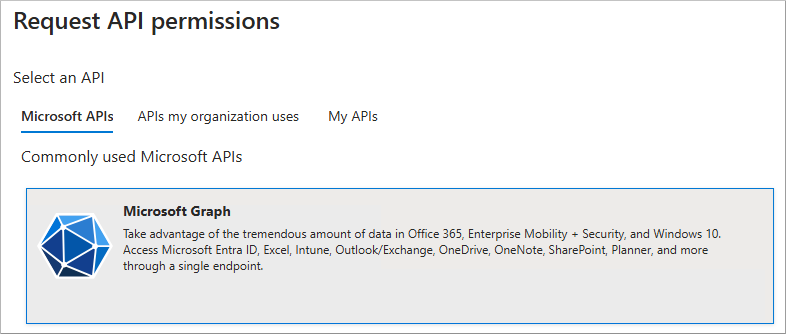
- Click on Add a permission
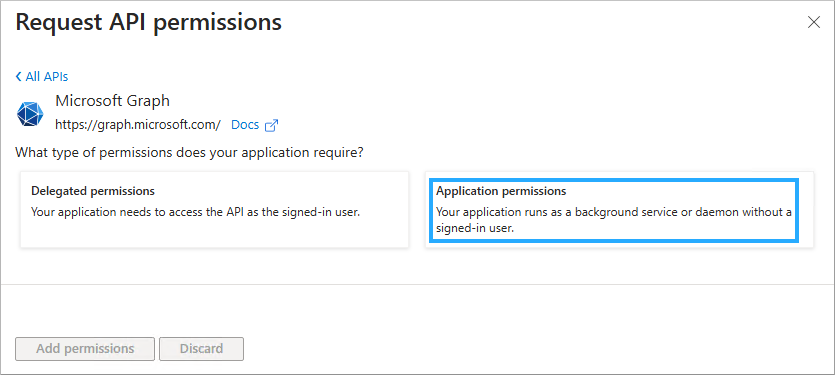
- Select Microsoft Graph
- Select Application permissions
- Search for User.Read.All (located under the User section)
- Select User.Read.All and click on Add permissions
- Navigate to the API permissions page
- Click on Add a permission
- Select Microsoft Graph
- Select Delegate permissions
- Search for User.Read (located under User section)
- Select User.Read and click on Add permissions
SharePoint
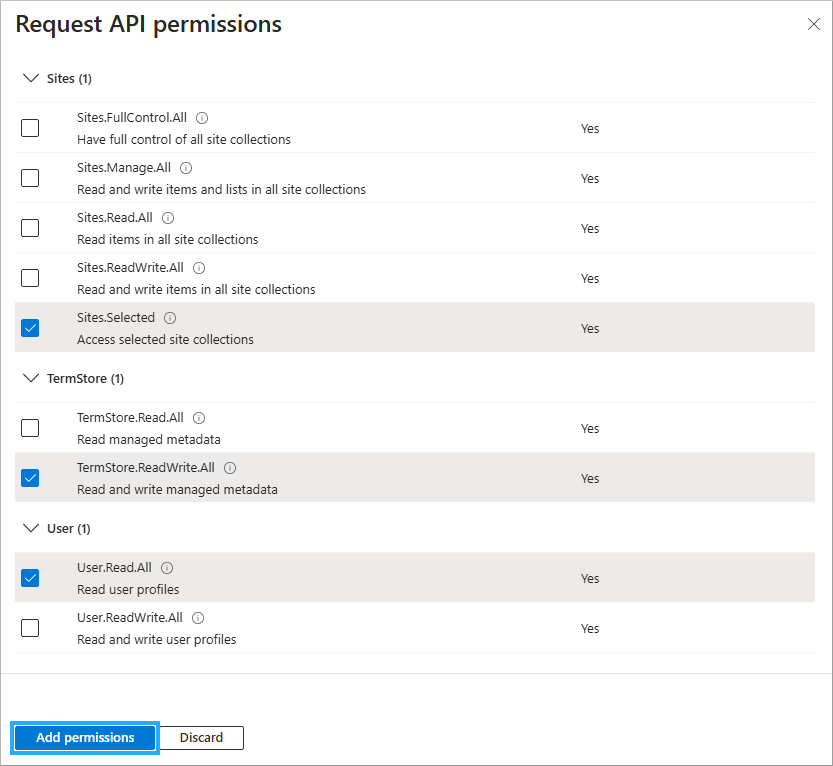
- Navigate to the API permissions page
- Click on Add a permission
- Select SharePoint
- Select Application permissions
- Select
- Sites.Selected
- TermStore.ReadWrite.All
- User.Read.All
- Click on Add permissions
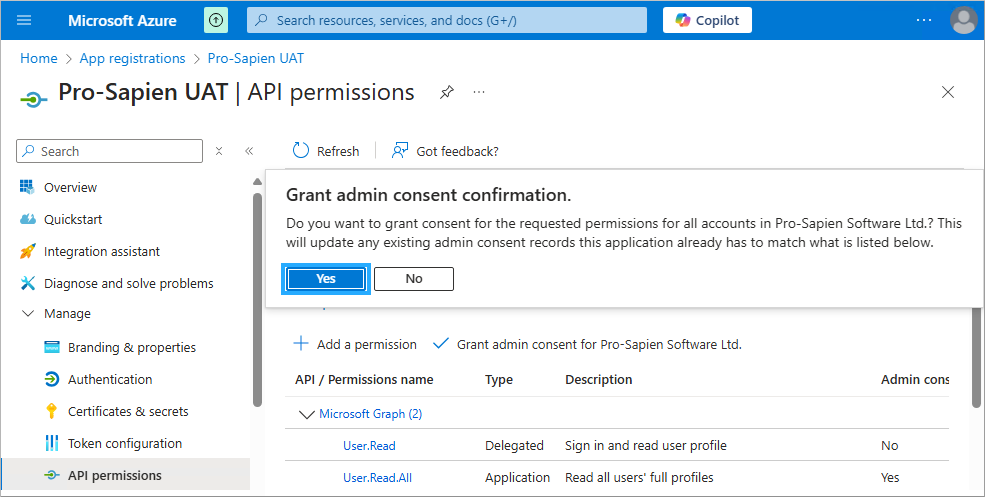
Grant admin consent
- Click on **Grant admin consent for {tenant-name} **

- Click on Yes
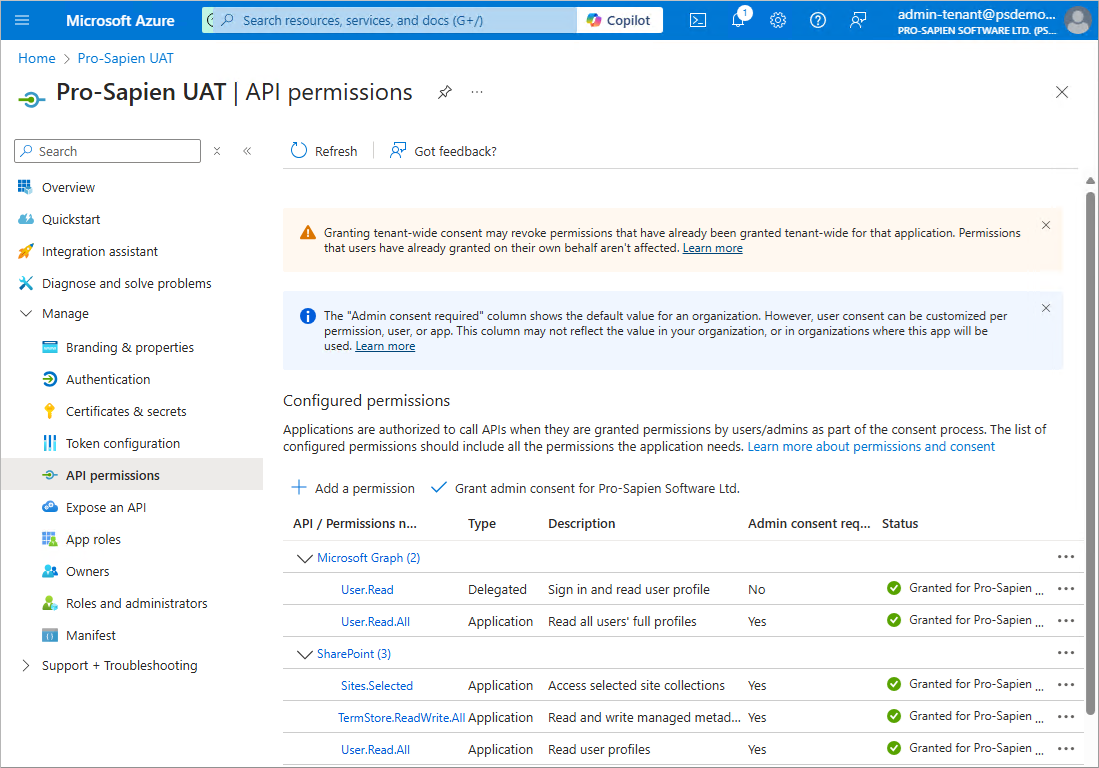
Final page example:
Scope
- Navigate to the Expose an API page
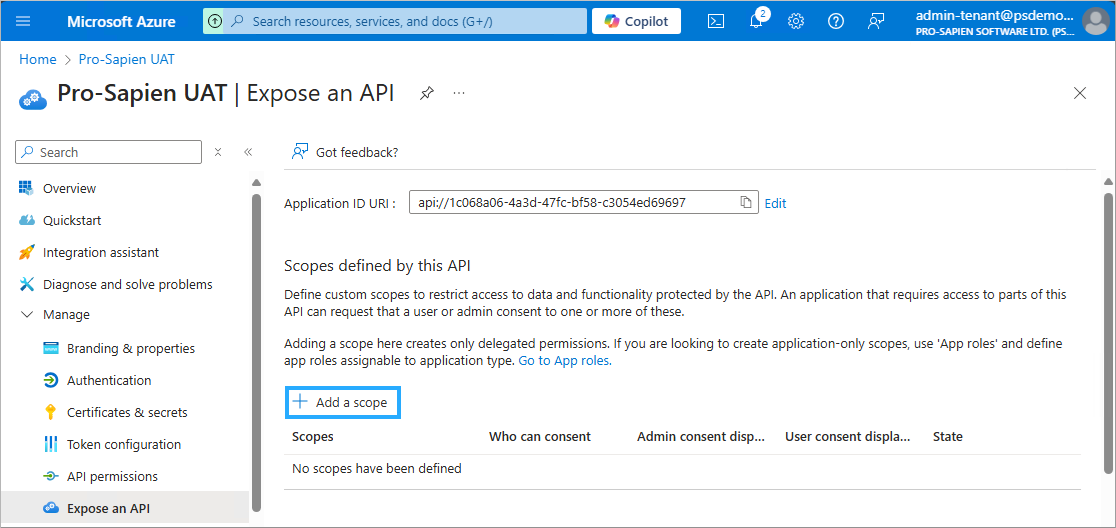
- Click on Add next to the Application ID URI
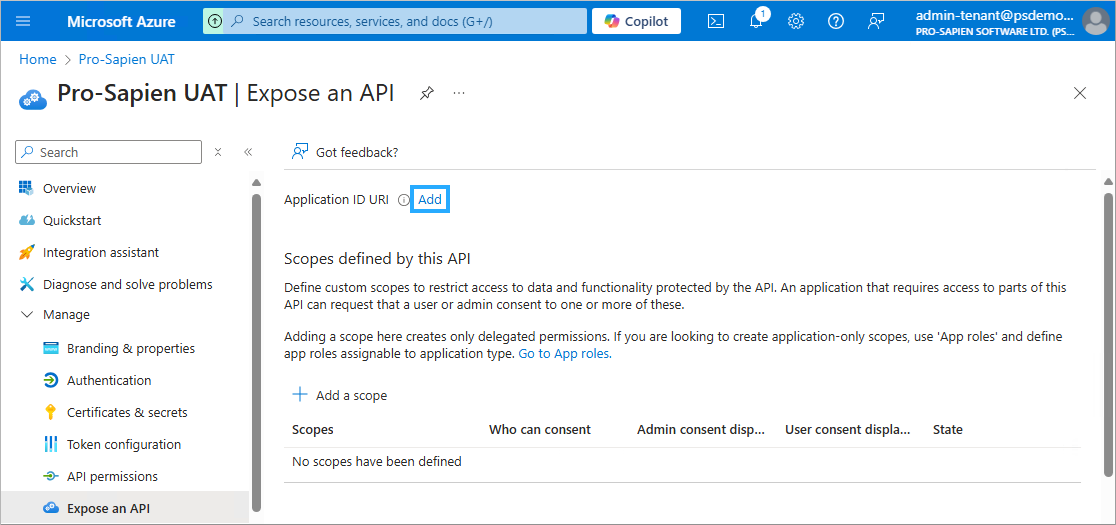
- Click on Save

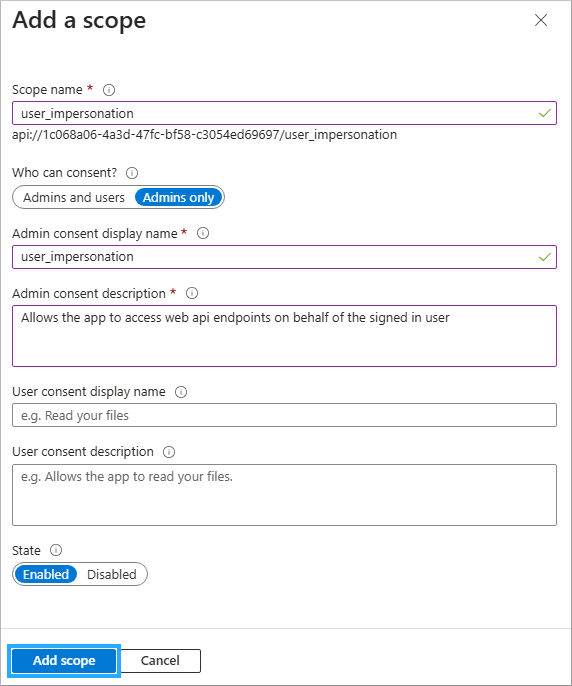
- Click on Add a scope
- Scope name: populate with "user_impersonation"
- Who can consent?: select Admins only
- Admin consent display name: populate with "user_impersonation"
- Admin consent description: populate with "Allows the app to access web api endpoints on behalf of the signed in user."
- State: select Enabled
- Click on Add scope
Final page example:

Before you finish
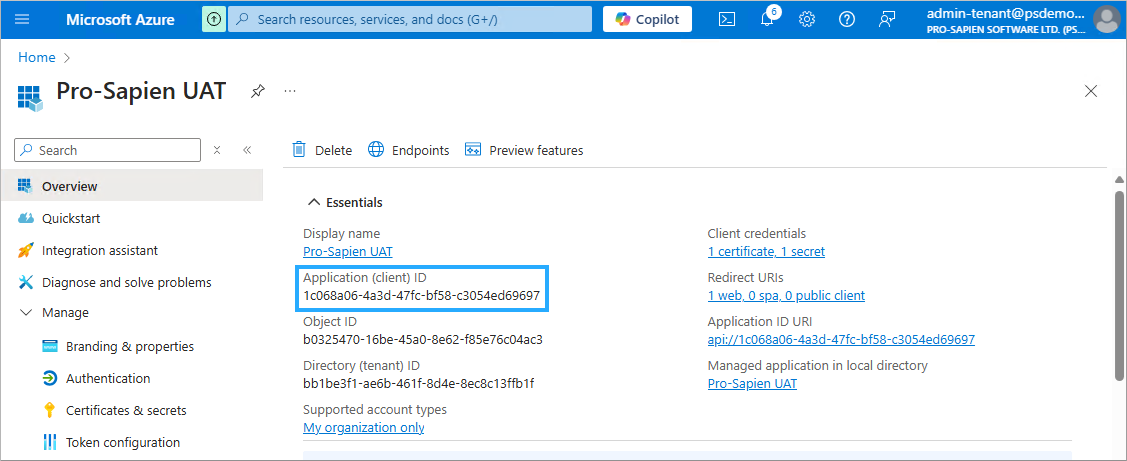
Find Client ID
- Navigate to the Overview page
- The following details should be captured in the parameters workbook:
- Application (client) ID {Entra-App-ClientId}
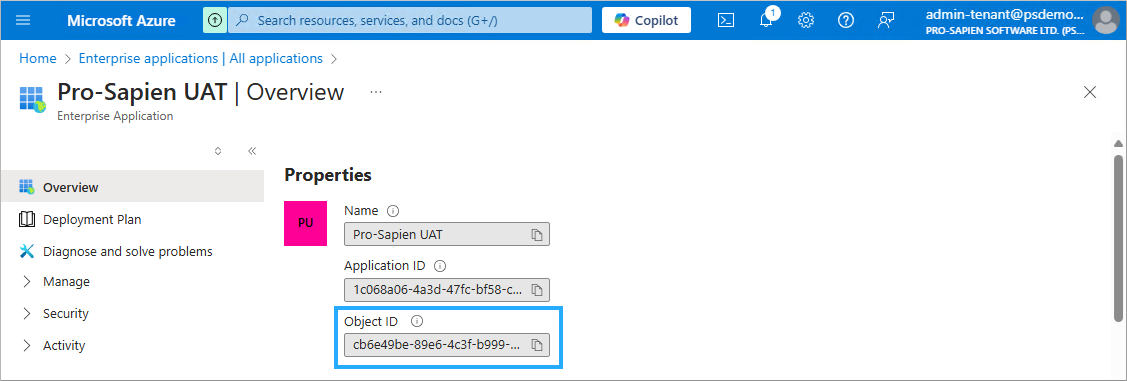
Find Object ID
- Navigate to Azure Portal -> Microsoft Entra ID -> Enterprise applications
- Search for the {Entra-App-Name}
- Click on the azure app
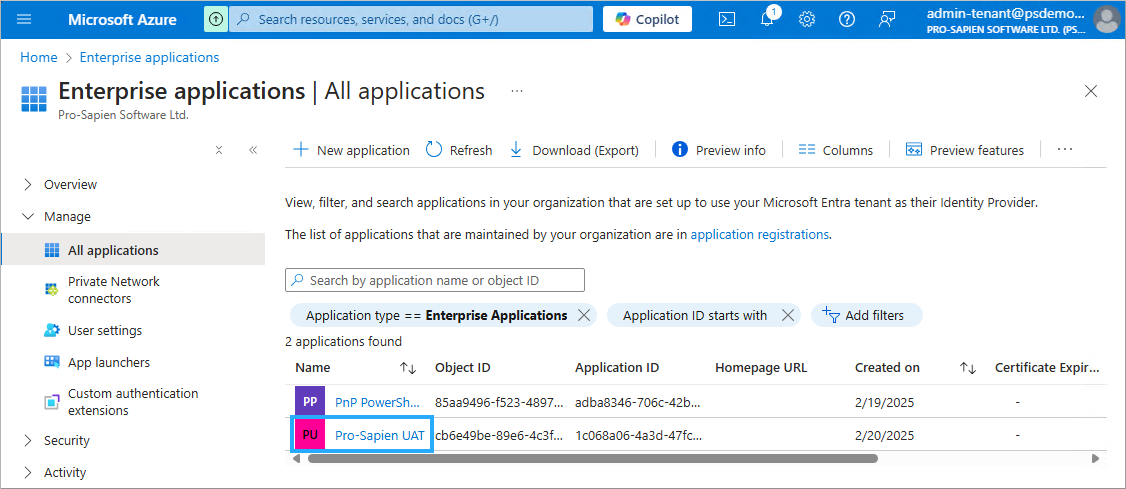
- The following details should be captured in the parameters workbook:
- Object ID {Entra-App-ObjectId}
Next steps
Now complete the following steps: